
During lockdown, one of our team members has been building new raised garden beds, so we thought this was a good opportunity for a step-by-step ‘How To’ blog!
There are many reasons why a wooden planter can be a great addition to your garden. Perhaps you’re short on space, and want a more flexible alternative to pots? Do you want to encourage your kids to learn to grow their own food in a vegetable patch? Or maybe you’re looking for a solution to improve your soil quality and suppress weeds?
The process is fairly simple – create a boxed wooden structure, line with plastic sheeting, add drainage (as needed) and then fill with a mix of topsoil and compost. Depending on the size of your beds, be prepared for some hard labour, but the end result is worth it!
1. Preparation
You will need:
Wooden planks
Upright blocks for reinforcing (small fence posts or timber offcuts work well)
Bolts
Heavy duty metal tacks
Plastic sheeting (we used a mid-thickness tarpaulin sheet, cut to size)
Drainage and weed suppressant measures (see below)
A mixture of topsoil and compost
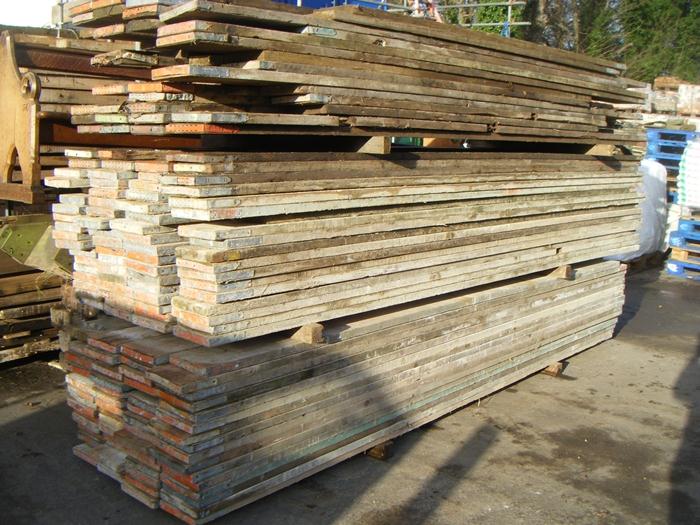
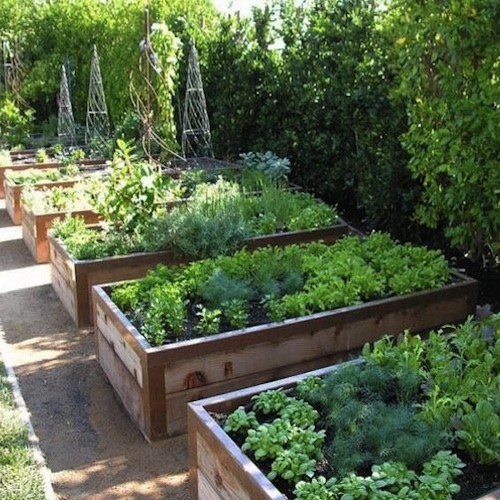
2. Choose your wooden frame
Railway sleepers or scaffold boards are ideal as they are heavy duty and can bear the weight of compacted soil. At Dorton, we have a wide range of sleepers, and new and reclaimed scaffolding boards. We also often stock oak beams and reclaimed hardwood. Consider how high you’d like the beds – most plants need at least 12 inches depth to thrive – and you’ll need the beds to be deeper if you are adding drainage. Two standard scaffold boards stacked on top of each other measures about 18 inches. Bear in mind that reclaimed boards or sleepers may have been treated in the past, which can allow toxins to seep into the soil – you’ll need to line the wooden frame with plastic sheeting to avoid this.

3. Drainage
Depending on where you’re building your raised bed, you need to consider drainage options. If the bed will sit on grass then you probably don’t need drainage – however, we built directly onto a paved yard so we incorporated a layer of rubble at the bottom of the beds to aid drainage. At Dorton, we stock stone products which could work for this purpose, or talk to us about other rubble options we may have available.
4. Weed suppression
If you’re building on top of your existing garden, remember that weeds will find their way into your new beds. Control this by adding a layer of landscaping material (available at DIY stores) to suppress the weeds.
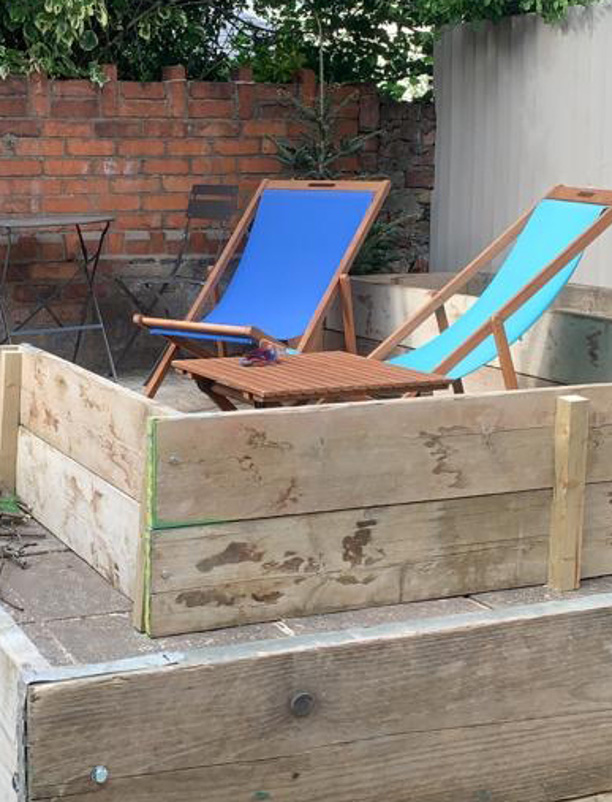
5.Construction
Construction is fairly straightforward – cut your boards and your upright reinforcing posts to size, and bolt together. Create the strongest junction possible by bolting directly through the wooden board to the upright.
Next, line the interior of the frame using plastic sheeting or tarpaulin that’s cut to size. Secure this with tacks at regular intervals (we also reinforced with gorilla tape).
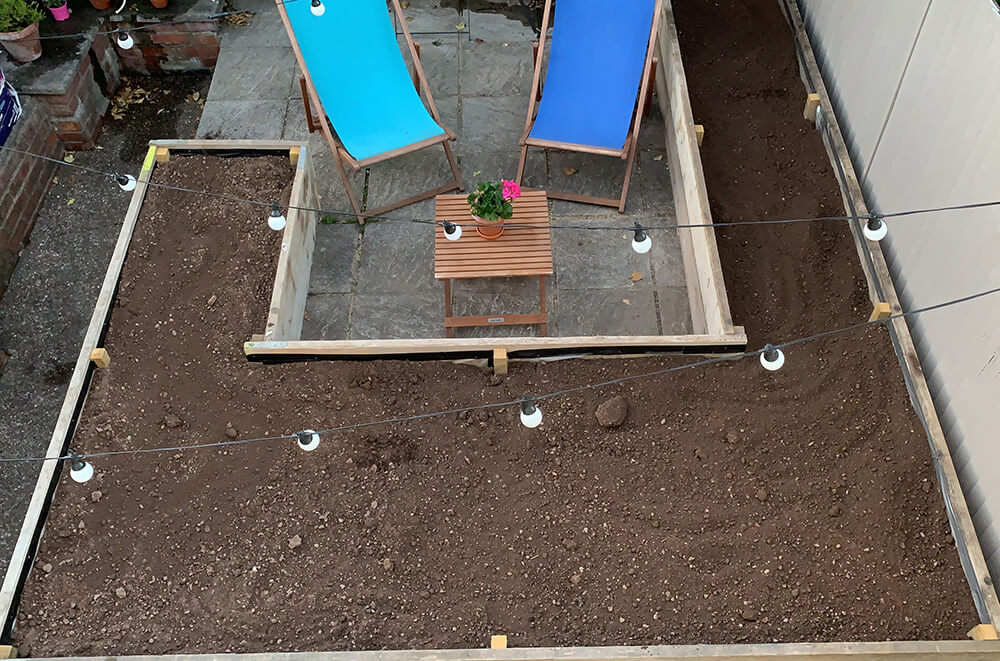
6. Filling your beds
This step is by far the most labour intensive, but it is a simple process – fill the beds with a mix of top soil and compost. We used a mix of roughly 70% topsoil to 30% compost.
Consider that once the soil becomes wet, it will compact significantly, so over-order slightly as you’ll need to add more over the next few weeks.
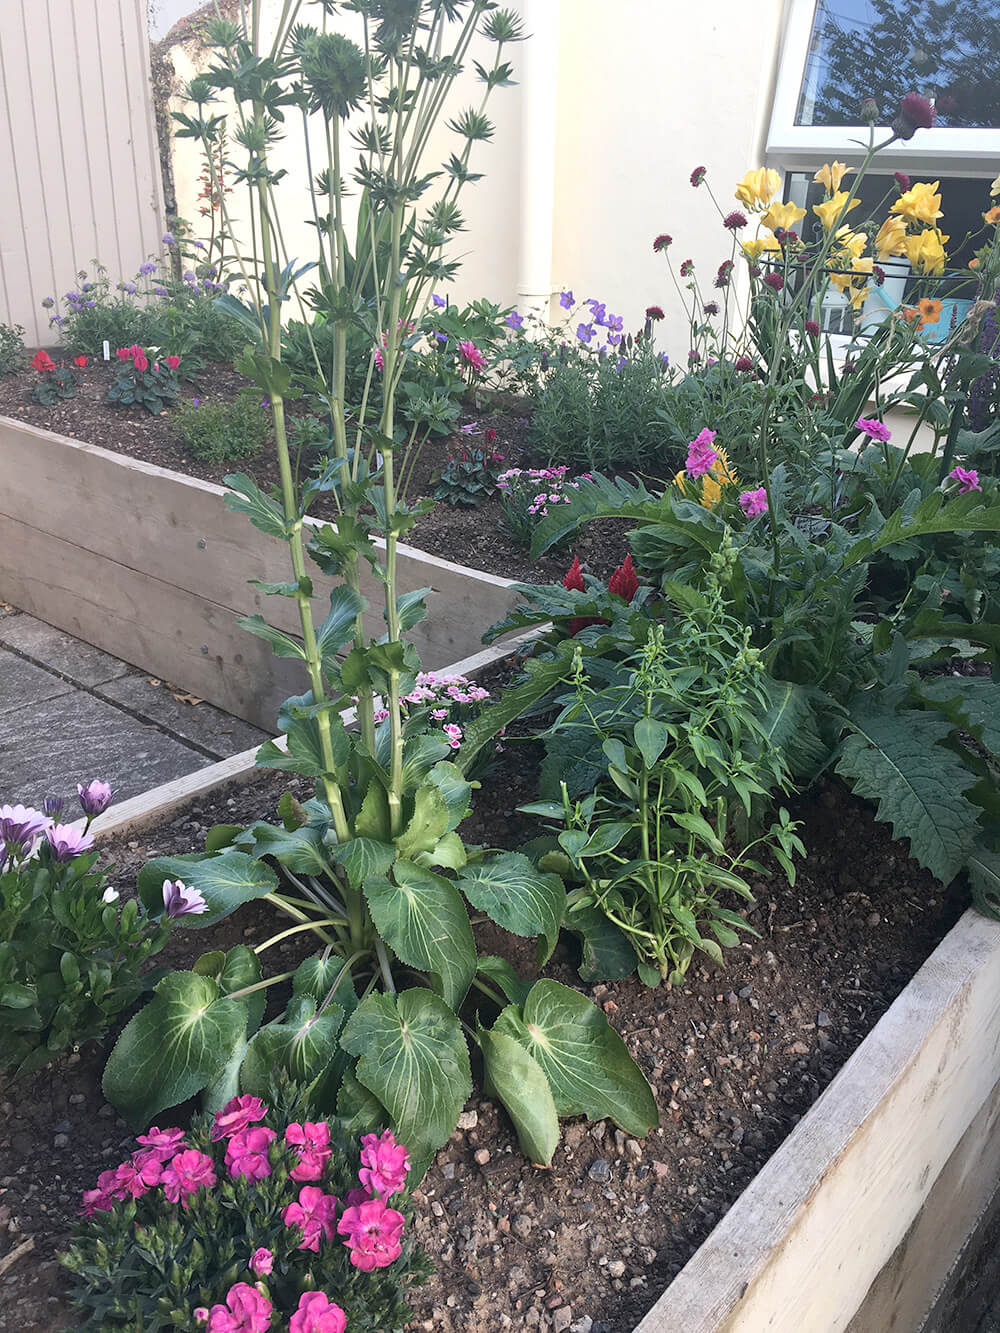
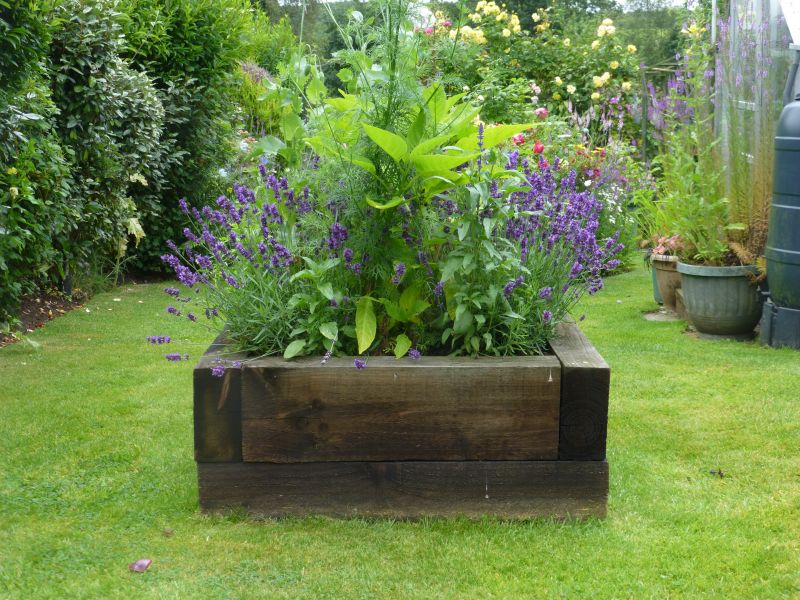
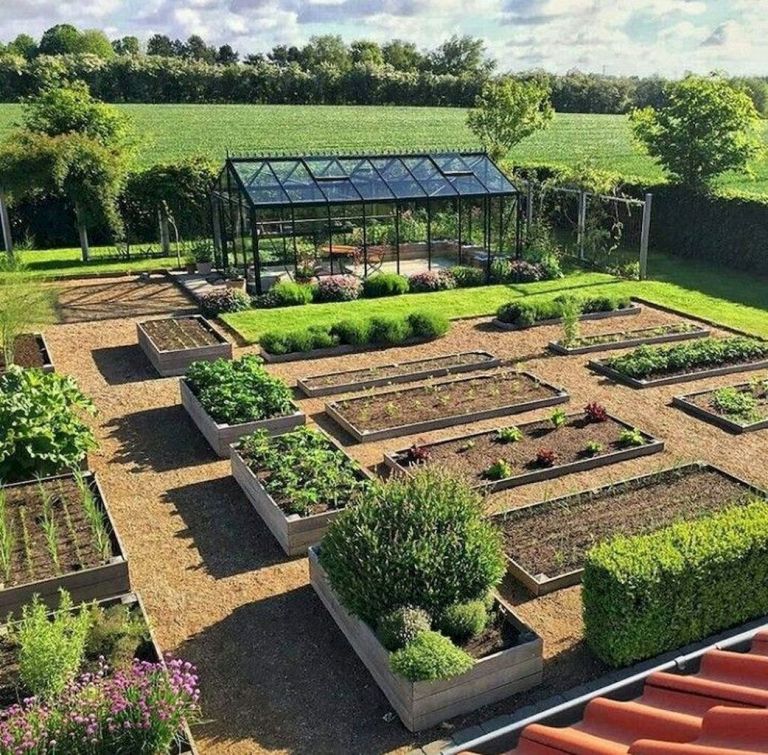
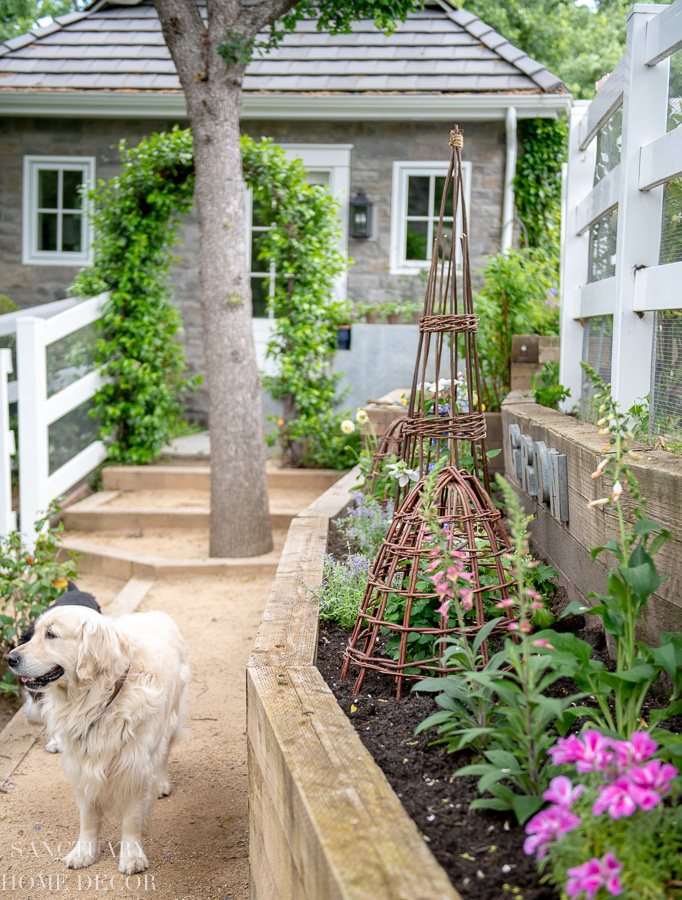
7. Planting!
This is the fun part. Create a vegetable patch, plant up a beautiful cottage garden or produce your own spectacular herb garden – let your imagination g(r)o(w) wild!
Whatever you choose, whether it’s quick and simple, or plotting how you’ll take over the horticultural world with prize-winning specimens, we’re here to help you with the essentials, so give us a call.
Stay safe.
Images